Spring is here!
Yes, normally at this point in time I am writing about cooking meat outdoors – Just about what every man is thinking right about now.
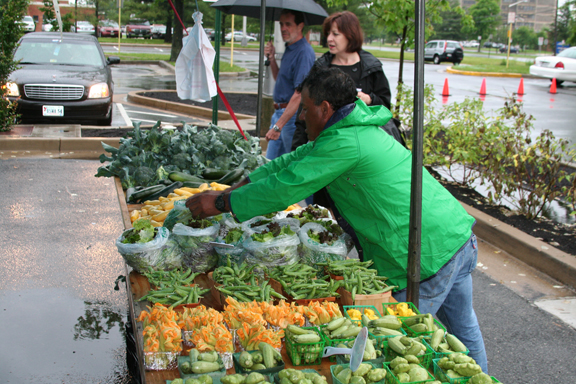
But who can ignore the bustling Farmer’s Markets overflowing with nature’s bounty? I am addicted to Farmer’s Markets, by the way – I would have hit my neighborhood one every week without fail if I hadn’t been sent out on the campaign trail last summer. The addiction spreads to gluttony, as I always overbuy. Why get one of something when you can get four? I am learning slowly, and doing my best to be conservative this year…….Except for two things: English Peas and Asparagus.
I have always loved asparagus, as my mother, Debby, cooked it for us often. Peas, however, I have hated with a passion: Green mush with little or no flavor ended up being just a vehicle for butter and salt. Even the dogs would leave them alone. Until recently, I have avoided peas with the utmost care and diligence.
It wasn’t until I tried fresh peas, cooked correctly, that my whole world turned upside-down. How could culinary Hell turn so quickly into Heaven? Of course I have my lovely Wife Leslie to thank for turning me on to them – She loves peas and it used to be one of the only vegetables that I didn’t like (Don’t worry, I have reversed my opinion of Brussels Sprouts as well, but that’s a whole other article).
I’ve lumped these two foods together in one blog for several reasons: They are both fresh in the Spring, need just a little cooking to get right, will turn mushy and gross when overcooked, and are both green. Ok, who cares about the green part, but I’m serious about the cooking – If you overcook them, you’ll have very unhappy diners that you may very well turn off to these vegetables forever.
Choosing & Prepping Asparagus:
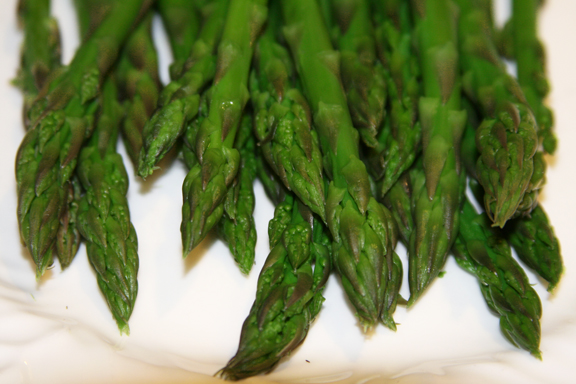
Look for spears that are roughly the same size – I prefer thin ones, but most important, you want consistency: If a bunch has both thick and thin spears, some will cook quicker than others. When they get to the table, some may be undercooked, others overcooked.
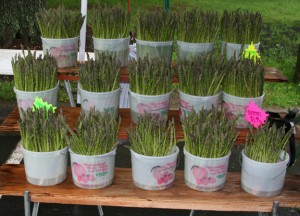
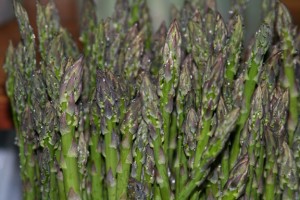
The spears should be firm and not flimsy – Limp asparagus is old and should be avoided. The tips should be tightly closed and the stalks should be dry and not slimy.
Good purveyors will store the spears upright in a bit of water or even crushed ice. This helps keep them fresh and is a hint of what you need to do when you get them home. Keeping asparagus upright in the fridge isn’t a simple task – You can store them flat, with a wet paper towel wrapped around the stems.
Immediately before serving, I give the spears a quick wash and pat dry. The bottom of the stem can be tough and woody, so hold one end in each hand and bend – The spear will snap naturally where it should. If you prefer to have all of your spears the same size, trim after you snap.
Choosing and Prepping Peas:
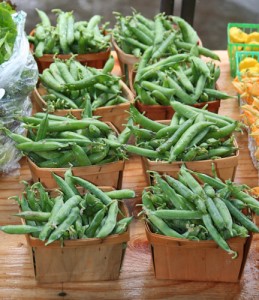
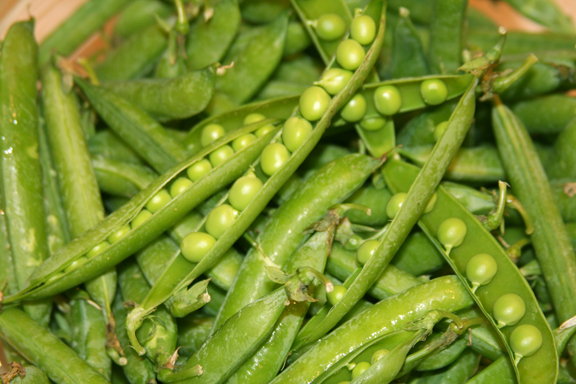
Pods should be a nice bright green – Avoid any that are yellow, or any other color for that matter! Pods should be tight and plump – Feel free to give them a gentle squeeze or even open one up to take a look – Any purveyor that won’t allow you you check out the goods shouldn’t be frequented. The peas should fill out the pods well and touching or very close to each other.
Keep them cool until ready to cook (if you are like me, you’ll probably snack on some raw! Try adding some raw peas to your next salad).
Peas are similar to corn in that their sugars turn to starch the longer they go without cooking – The quicker you eat them, the sweeter they will be.
Before cooking, you’ll need to shell them – This can take a while, but if you have a family, friends, or roommates around, get them involved – Not only will the task go more quickly, but it’s fun! I usually squeeze the pod at the seams until it breaks, then use my fingers to scoop the peas into a colander. After shelling, check to ensure that bits of pod, leaves, etc., haven’t fallen in with the peas. I’ll also give them a quick rinse.
Cooking Either:
The simplest way of cooking both peas and asparagus is blanching (cooking then cooling quickly). This will ensure that neither are overcooked and each keeps its bright green color.
Bring water to boil in a medium or large saucepan with a bit of salt. Prepare a bowl of ice water nearby, or alternatively, put a colander in the sink and keep some ice cubes at the ready.
Boil the vegetables BRIEFLY – After a minute, grab a spear or pea, blow, and taste. You are looking for each to be just undercooked. This may take a few times to get right, as asparagus thickness varies greatly – Larger ones will take longer. Peas usually take no more than 2 minutes for my taste. Remember, they will continue to cook between your taste and the time you start to cool them, even if it’s just 30 seconds – That’s why you’ll want to pull them off the stove while they are still “al dente.”
Immediately plunge them in the ice water, or into the colander in the sink. If using the latter, run cold water over them and add the reserved ice. The first method is, by far, the best.
After a few minutes, drain and taste – If you did it right each should be perfectly cooked, with a slight snap and bright flavor, and not mushy at all.
If you really must serve them warm, then do it gently – back into the saucepan with cool water and heat until just warm – Do not let them boil again!
Dressing Peas:
Keep it simple – Just a bit of butter or olive oil, maybe some salt and pepper, is all I need. As always, feel free to experiment with what you like, but be careful not to overwhelm the delicate flavor.
Dressing Asparagus:
Again, simple is better – Olive oil, salt, pepper, maybe some good balsamic vinegar, are nice. You could even use a bit of mustard or any salad dressing that you enjoy. Again (And I’m going to beat this into you!), be careful not to overdress…..
Cooking peas and asparagus simply is a nice way to celebrate the coming of Spring. You can get a little more adventurous, and I will share a few recipes with you soon that will take these vegetables to the next level. In the meantime, enjoy the harvest!
Read or print just the recipe here.
